Media rights for photos/videos collected from Instagram can be managed by our media rights framework, allowing you to ask authors for permission to use their content directly from the Photoslurp platform.
How does it work?
The method used for media rights requesting consists of a simple approval hashtag.
1. First, the media rights petitioning text is posted on a comment on Instagram. In the text, the author is requested to reply mentioning your brand and using the approval hashtag (eg: #YesBrandName).
2. Once the author responds, Photoslurp will automatically detect it, keep a record of it, and change the status to 'Media rights owned'.
There are 2 methods for how media rights can be requested. It slightly differs based on how the content was collected (hashtags and tags, or mentions). This will be explained later on in the article.
Media rights setup
To configure your media rights setup, head to 'Settings' -> 'Media rights' from within the campaign:
On 'Media rights'
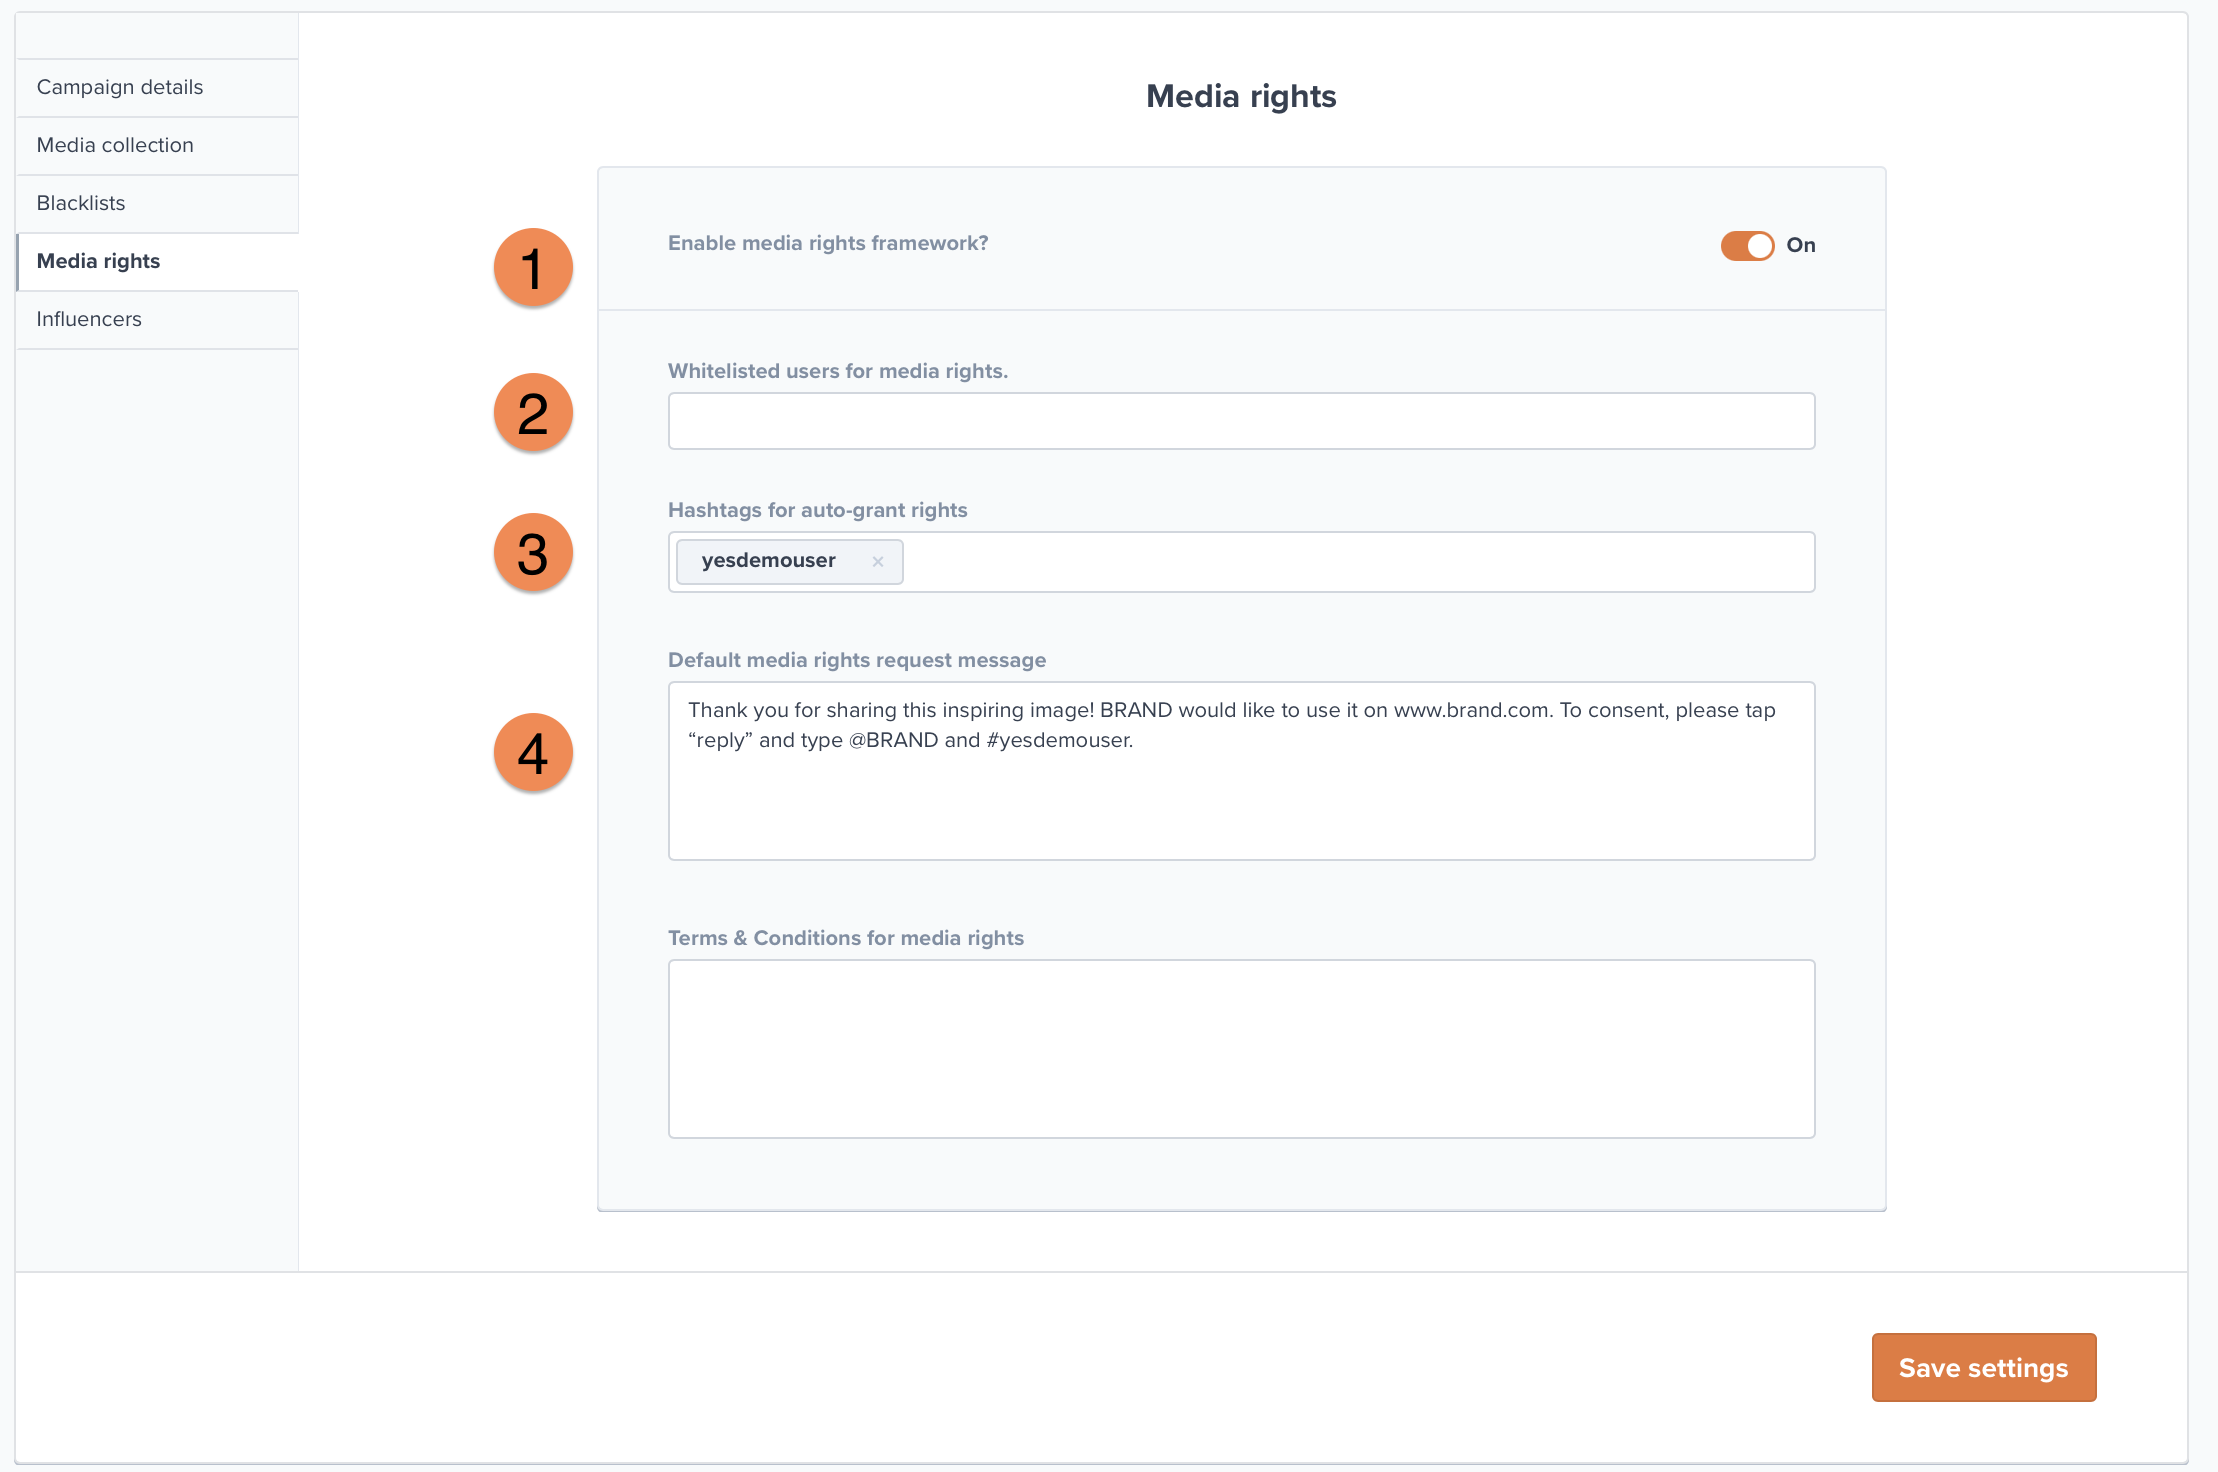
1. 'Enable media rights framework' to get Media Rights functionality.
2. 'Whitelisted users for media rights'. (Advanced Feature) All content coming in from influencers/ambassadors will be automatically marked as 'Rights owned'.
3. 'Hashtags for auto grant right'. This is where you set the approval hashtag that will be sent to content authors (e.g. #YesBrandName).
Note: It is important to ensure that this hashtag is NOT being used for other marketing activities.
4. 'Default media rights request message'. Write down the text that will be sent to users when requesting media rights.
Example a: Hi there! Thanks for tagging us in your picture! We love it and would like to use it in our customer gallery. To grant us permission to do so please respond with #yesbrandname and @YOURBRAND.
Example b: Thank you for sharing this inspiring image! BRAND would like to use it on www.brand.com. To consent, please tap “reply” and type @BRAND and #yesbrand.
Example c (linked to Terms & Conditions*): Great shot! If we can share your picture in our marketing material/on our website, please reply with #yesbrand: https://www.brand.com/en/Photoslurp.html
*Note: Here is a list of T&C examples available - however, all of these HAVE to be vetted by your own legal counsel before being used.
Note: Remember to save your preferences by clicking on 'Save Settings' before leaving the page.
Start requesting for Media Rights
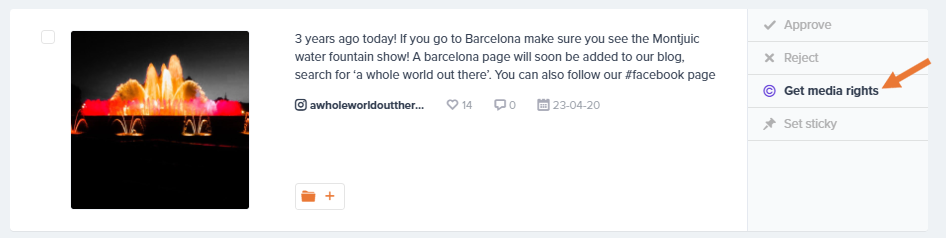
Once everything has been configured, you can begin the process by clicking on the 'Get Media Rights' button:
As explained before, there are 2 methods for how media rights can be requested depending on how the content was collected:
A. Media rights for '@Mentions'
The screenshot below shows how the media rights modal looks for content where you have been @mentioned. This is the only type of content where you are able to send a media rights message directly from our platform.
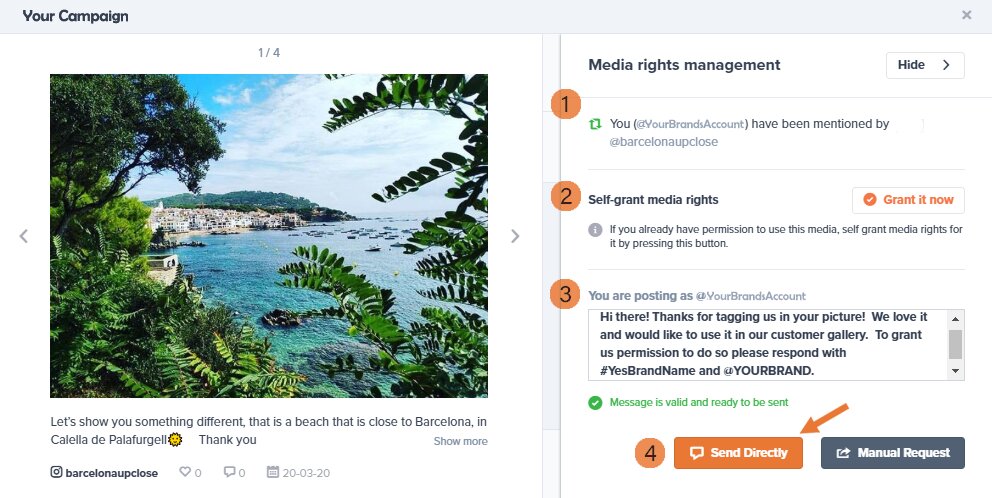
1. Source: It specifies the collection method used for each particular image.
2. Self-grant media rights: In cases when you already have media rights for a piece of content (gained through another channel, or through an agreement with an influencer, for example), you could use our Self-grant functionality. Clicking on the 'Grant Rights' button, the media content status will immediately change to 'Rights granted'.
3. Your message: In this section, you will find the media rights petitioning message you had previously configured on your Campaign Settings.
Note: If you are sending multiple media rights requests, we recommend using several text templates, to avoid getting temporarily blocked on Instagram.
4. Send Directly: For @mentioned content, you can use the 'Send Directly' button and your message will be automatically posted as a public comment on Instagram.
When the content author responds @mentioning your brand and including your approval hashtag, this will be automatically detected and the status of the media will change to "Rights Owned".
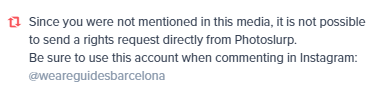
B. Media rights for 'Tags' or '#Hashtags'
For all tagged or #hashtagged content, the media rights functionality works distinctly. You will still be able to request media rights using the 'Get Media Rights' button, however, due to Instagram's policy, you will need to do one additional step:
1. Select and copy the default message.
2. Click on 'Manual Request & Open IG' - It will redirect you to Instagram.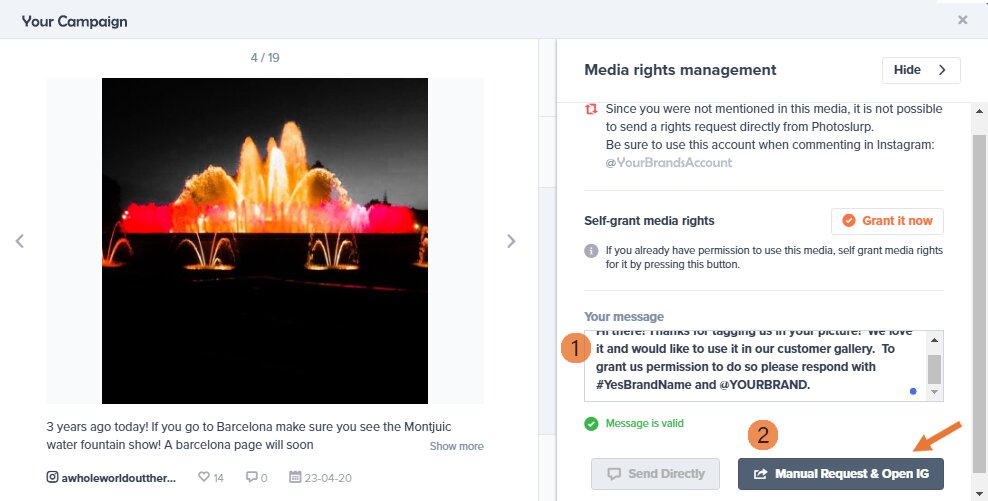
3. Paste the message in the IG comment section.
Note: Ensure that you are logged into Instagram with your business account and that it matches the username stated in the message at the top of the modal.

Photoslurp will detect the approval message as soon as it comes in and it will change the status of the content to 'Rights Granted'.
'Media rights owned' - After you have received media rights
Once you have received media rights, you should be seeing information similar to the screenshot below:
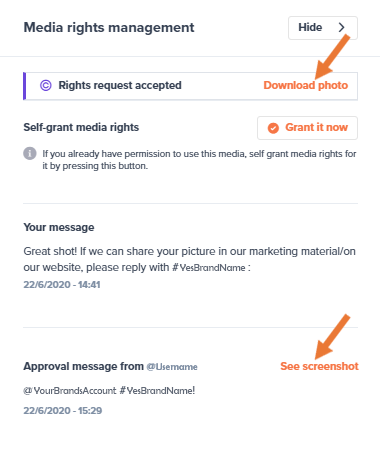
Here you can confirm that your rights request has been accepted, and check the approval message of the user.
1. Download Photo: You can download the photo in its original size to use it as specified to the author.
2. Approval Screenshot: We take a screenshot of all media rights approvals that have been granted., which can be accessed at any time.
Let's recap!
- In order to enable this feature, you must configure your campaign media rights setup.
- If you already have the rights for a picture, you can 'Self-grant rights'.
- You can also whitelist influencers and ambassadors (Advanced Feature)
- There are 2 request methods:
- Mentions: can be requested through the 'Send directly' functionality.
- Tags and Hashtags: the platform will redirect you to Instagram's comment section.
- Once an image gets 'Media rights Owned', you will be able to download the picture and access a record of the user's response.
Note: The use of this feature is mandatory when showing content depicting people under the age of 18