The campaigns section of the platform has a new user-friendly design to make your experience with Photoslurp even easier.
Every time you log-in to your Photoslurp dashboard, the first page you will see is the 'Campaigns' section. This is a summary of all your existing campaigns, both active and inactive.

In the 'Action' menu, you can 'Enable' collection, 'Stop' collection or delete the campaign by clicking the trash button. Simply select a campaign, and choose one of the options at the bottom of the screen.
Content Moderation ('Media')
Once the catalog has been imported into the platform and linked into a campaign, managing the collected content is the next step. The campaign's Media view will allow you to approve content, reject content, ask for media rights and assign products to your content.

There are 2 displaying content formats within the platform; either vertical or horizontal
Choose the one you feel most comfortable with when moderating content!
a. Content curation
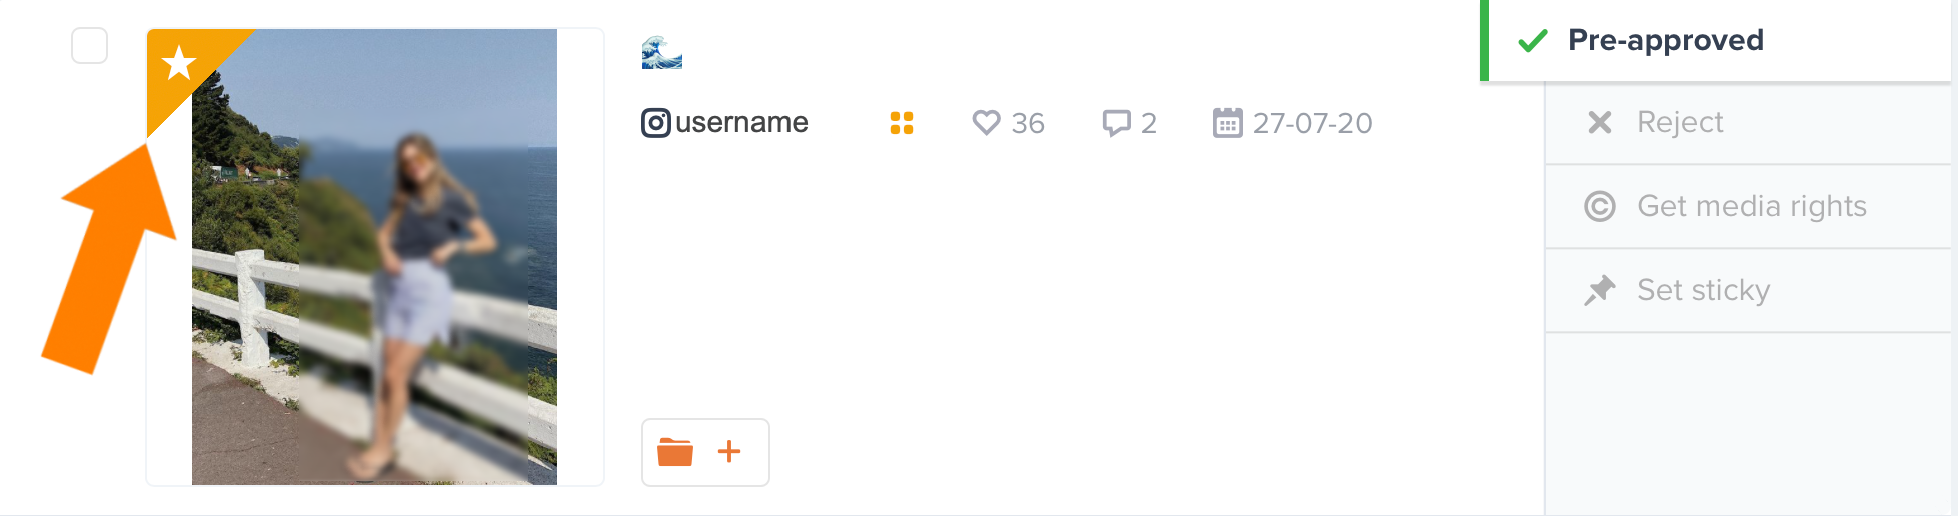
- The Approve and Reject buttons do as they say - they approve and reject collected content. By selecting Approve, the item will be available in the widget immediately. Whereas when selecting Reject, the item won't be visible in the widget but will be made available under the Rejected tab.
-
The 'Set Sticky' button ensures that the media marked with this feature will always be shown at the top of the widgets (carousels and galleries).
Conversely, unclicking the button will allow you to unmark the photo of its statical status and return to its original order.
-
On the 'Get Media Rights' section you can:
- Self Grant media rights in the case that you already know you have permission to use this photo or if it is your own content.- Type a message requesting the media rights using @YOURBRAND and #yesYOURBRAND then either send the request directly from the platform or 'copy message and open Instagram' to paste your request.
Click over to the full guide on the Media Rights Framework for more information on this process.
-
Restore an image/video status
If at any given moment you either misclick or change your mind about an image, you can always restore the image status and moderate once again its content.
1. Select the checkbox next to the image.
2. At the bottom of the screen, you will see a prompt of buttons allowing you to 'Approve', 'Reject', 'Set sticky' or 'Reset'.
3. Click 'reset' to set this image back to its original state. It will now appear in 'Pending'.

-
AI Image Recommendation Feature (NEW)
 Moreover, you will be able to filter the Pending content by 'Recommended'. This will allow you to find the best pictures suggested by the system.
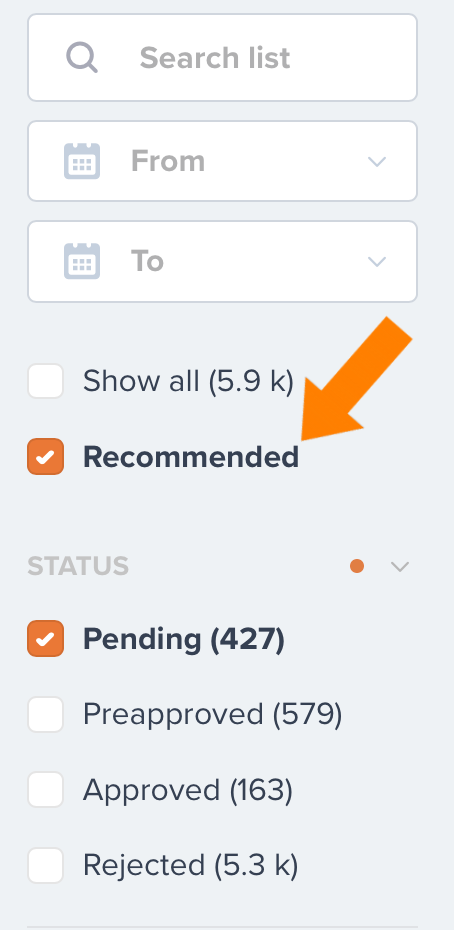
-
Users
If different members of your team will work simultaneously on the Platform, we suggest to utilise the ‘Users’ Advanced Feature, where you will also be able to restrict each user’s permissions.
To add new users to your account, head to the 'Users' section in the left-hand menu. Once there, you can create new users using the Create A New User button.
The form to create a new user allows you to specify the essential details for the new user account – such as username, email address and password. Click 'Create User' to finish.
Once the user has been created, you can edit their permissions by clicking the Permissions button. Here all functions within the Photoslurp platform are broken down, and you can assign fine-grained permission rules to the user – such as if they are allowed to approve photo/video or only linking products.
A 'pre-approval permission' is also included here for cases in which a junior employee within your company does the moderation and linking, and their supervisor has the final approval of all curation before anything is published to your website.
b. Assign Products
The Assign products button allows you to link that specific photo to a product from the catalog connected to the campaign - this is how we make it shoppable. Once you've clicked on Assign products, just type the SKU of the product that you want to assign on the search bar. The product will be assigned as soon as you click on it.
You can assign multiple products to a photo, all you need to do is to select the checkbox in the right corner at the top of each product.

If you have assigned more than one product, it's possible to modify the order in which the products appear in the widget by dragging them at the top or bottom of the list.
In this section, you will also find the 'Collections' feature. They are a way to group sets of photos/videos within your campaigns to create multiple galleries, each showing media related to a specific category of product. You can use this feature to group products related to seasonal collections, sales, categories, and so much more.
For further information about this feature, please visit the 'Collections' article.
-
AI product assignment recognition tool
With the help of our AI Tool, you will be able to speed up the product assignment process. This Advanced Feature allows you to identify the products displayed on each picture by following this simple process: 
Note: The AI tool will suggest the most similar products to the one you frame in the image.
-
Hotspots feature
The Hotspots feature allows you to add numbered bubbles on top of the image, which are linked to the assigned products. You can drag these hotspots to place them on top of the products they represent, being quite useful when the picture features more than one product.
In order to do so, you'll first need to assign at least one product. Then, click the "Enable" button on the bottom of the picture. Select which product will be the one linked to the hotspot, and finally click on the point of the picture where you want to insert the hotspot. If you need to adjust the placement, you can drag the hotspots around by clicking on them.
The number that has been assigned for each product depends on the order in which the products have been assigned. It's possible to re-order them by dragging them at the top or bottom of the list.

Product Linking Across Campaigns
If you've already linked a photo to a product in one campaign - and if that photo exists in any other campaign - the two will already be linked but will not have been approved. The reason for this is that you may want to approve content in one campaign but might not want to approve it in another.
If you've arrived on this page by following an Installation guide, just click here to go back to the step you were in: